Creating handmade bars is a fulfilling craft that blends science and artistry. The cold process method allows full control over textures, scents, and skin-loving components. Unlike commercial options, you avoid harsh chemicals while crafting bespoke creations.
Popular recipes like oatmeal & honey offer gentle exfoliation and moisture, ideal for newcomers. With a 95% success rate, this formula simplifies the learning curve. Always prioritise safety—protective gear and proper ventilation are non-negotiable when handling lye.
This guide covers essentials: selecting oils, measuring accurately, and mastering curing times. Whether you seek cost savings or creative expression, each batch becomes a unique masterpiece.
Key Takeaways
- Handmade bars use natural ingredients for healthier skin.
- The cold process method allows full customisation of scents and textures.
- Beginner-friendly recipes like oatmeal & honey have high success rates.
- Safety precautions, including gloves and goggles, are essential.
- Curing properly ensures long-lasting, high-quality bars.
Introduction to Cold Process Soap Making
The art of crafting soap dates back millennia, with Babylonians pioneering early recipes in 2800 BCE. Today, the cold process method remains a beloved technique for its balance of simplicity and creative freedom. Unlike commercial products, it avoids synthetic additives while allowing full control over textures and scents.
What Is Cold Process Soap?
At its core, this method relies on saponification—a chemical reaction where sodium hydroxide (lye) transforms oils into soap. No external heat is needed, resulting in smooth, long-curing bars. This contrasts sharply with hot process soap, which uses a crockpot for accelerated cooking and yields a rustic, uneven texture.
Cold Process vs. Other Soap-Making Methods
Three primary techniques dominate handmade soap crafting:
- Cold process: Offers maximum customisation with a 4–6 week cure time.
- Melt-and-pour: Uses pre-made bases for instant results but limits ingredient control.
- Hot process: Cooks soap rapidly, ideal for those impatient with curing.
| Method | Cure Time | Customisation | Texture |
|---|---|---|---|
| Cold Process | 4–6 weeks | High | Smooth |
| Hot Process | 1–2 weeks | Medium | Rustic |
| Melt-and-Pour | None | Low | Uniform |
Historically, European artisans perfected cold process techniques, favouring olive oil and ash-derived lye. Modern adaptations now incorporate shea butter or coconut oil for richer lathers. For beginners, this method strikes the perfect balance—forgiving yet endlessly creative.
Essential Tools for Cold Process Soap Making
Gathering the right equipment makes cold process soap crafting both safe and enjoyable. Whether you’re a first-timer or refining your technique, having dedicated tools ensures consistent results. Below, we break down the essentials and advanced additions for your workspace.
Must-Have Equipment
Start with these non-negotiables for seamless soap making:
- Stick blender: Speeds up trace and ensures even mixing. Opt for one reserved solely for soap to avoid cross-contamination.
- Digital scales: Precision matters—choose models with ±0.1g accuracy for lye and oils.
- Silicone moulds: Crafter’s Choice loaf moulds are beginner-friendly and release bars effortlessly.
Safety gear is equally critical. Nitrile gloves, ANSI-approved goggles, and acid-resistant aprons protect against lye splashes. A stainless steel pot is ideal for mixing, as it won’t react with raw materials.
Optional Tools for Advanced Makers
Elevate your craft with these upgrades:
- Infrared thermometers: Monitor oil and lye temperatures without messy probes.
- Multi-cavity moulds: Create uniform guest-sized bars—perfect for gifting.
- pH test strips: Verify cure completion and skin safety (aim for 8–10 pH).
Budget tip: Repurpose kitchen items like stainless steel bowls or wooden crates as makeshift moulds. Just line them with parchment paper to prevent sticking.
Key Ingredients for Your First Batch
Your first batch relies on three pillars: balanced oils, precise lye, and pure water. Choosing the right combination ensures a bar that lathers richly while nurturing the skin. Let’s break down each component’s role.
Base Oils and Their Properties
Different oils bring unique benefits. A blend of 300g olive oil, 200g coconut oil, and 100g RSPO palm oil is ideal for beginners. Here’s why:
- Coconut oil: Creates bubbly lather but can be drying—balance with moisturising oils.
- Olive oil: Adds creaminess and gentle cleansing, perfect for sensitive skin.
- Castor oil: Just 5–10% stabilises bubbles without weighing down the bar.
Prefer alternatives? Swap palm for babassu oil or olive for sunflower oil. Always measure by weight—volume cups lead to inconsistent results.
Understanding Lye and Water Ratios
Lye is non-negotiable for saponification, but handling it safely is critical. Shake the container—clumps mean it’s degraded. Store in airtight glass to avoid moisture absorption.
Use distilled water (never tap) to mix lye. A 2:1 water-to-lye ratio works for most recipes. For example, 100g lye needs 200g water. This prevents rapid trace and ensures even mixing.
Pro tip: Cool lye water to 38°C before blending with oils to avoid overheating.
Safety Precautions Every Beginner Should Know
Working with lye demands respect—its caustic nature can cause severe burns if mishandled. Unlike other ingredients, sodium hydroxide reacts violently with water, reaching 200°F instantly. Prioritising safety transforms risks into rewarding craftsmanship.
Handling Lye Safely
Always add lye to water (never the reverse) to control the exothermic reaction. Think “snow to lake”—slow pouring prevents splashes. Work outdoors or near an open window; fumes irritate lungs.
Essential steps for mixing:
- Wear nitrile gloves and ANSI goggles—no exceptions.
- Use a stainless steel bowl; glass may shatter from heat.
- Stir gently until the mixture clears, then cool to 38°C.
For spills, rinse with water first—vinegar neutralises but dilutes faster. Store sodium hydroxide in labelled, childproof containers away from food.
Protective Gear and Workspace Setup
Your station should mirror a chemistry lab: clutter-free and pet-free. Key items:
- Long sleeves, closed-toe shoes, eye protection (https://amzn.to/4kkBK8m ) and an apron.
- Emergency kit: eye wash, chemical burn gel, white vinegar.
- Dedicated tools (stick blender – I use this one https://amzn.to/3YLNbxh , spoons) to avoid cross-contamination, pots ( https://amzn.to/3Zmdb2L) and a mould (https://amzn.to/4kpeHcH)
If skin contacts lye, rinse under cool water for 15 minutes. Seek medical help for persistent irritation. Remember: patience and preparation prevent accidents.
Preparing Your Workspace and Moulds
Efficiency begins with thoughtful preparation of your moulds and ingredients. A clutter-free, well-organised place minimises mistakes and speeds up the process. Dedicate areas for lye mixing, oil heating, and pouring to avoid cross-contamination.
Choosing the Right Mould
Soap moulds come in two main types, each with pros and cons:
| Type | Durability | Prep Needed | Best For |
|---|---|---|---|
| Silicone | 500+ batches | None | Detailed designs |
| Wooden | Moderate | Freezer paper lining | Traditional loaf bars |
Silicone moulds release bars effortlessly, while wooden ones require lining to prevent oils from seeping in. For beginners, silicone’s ease outweighs its higher cost.
Organising Your Ingredients and Tools
Stage everything before starting:
- Pre-measure ingredients (lye, distilled water, oils) in labelled containers.
- Mix colourants or additives like clays in advance.
- Keep a kitchen timer nearby to track mixing and trace stages.
Designate soap-only utensils to avoid residue buildup. Immediate clean-up with white vinegar neutralises lye spills.
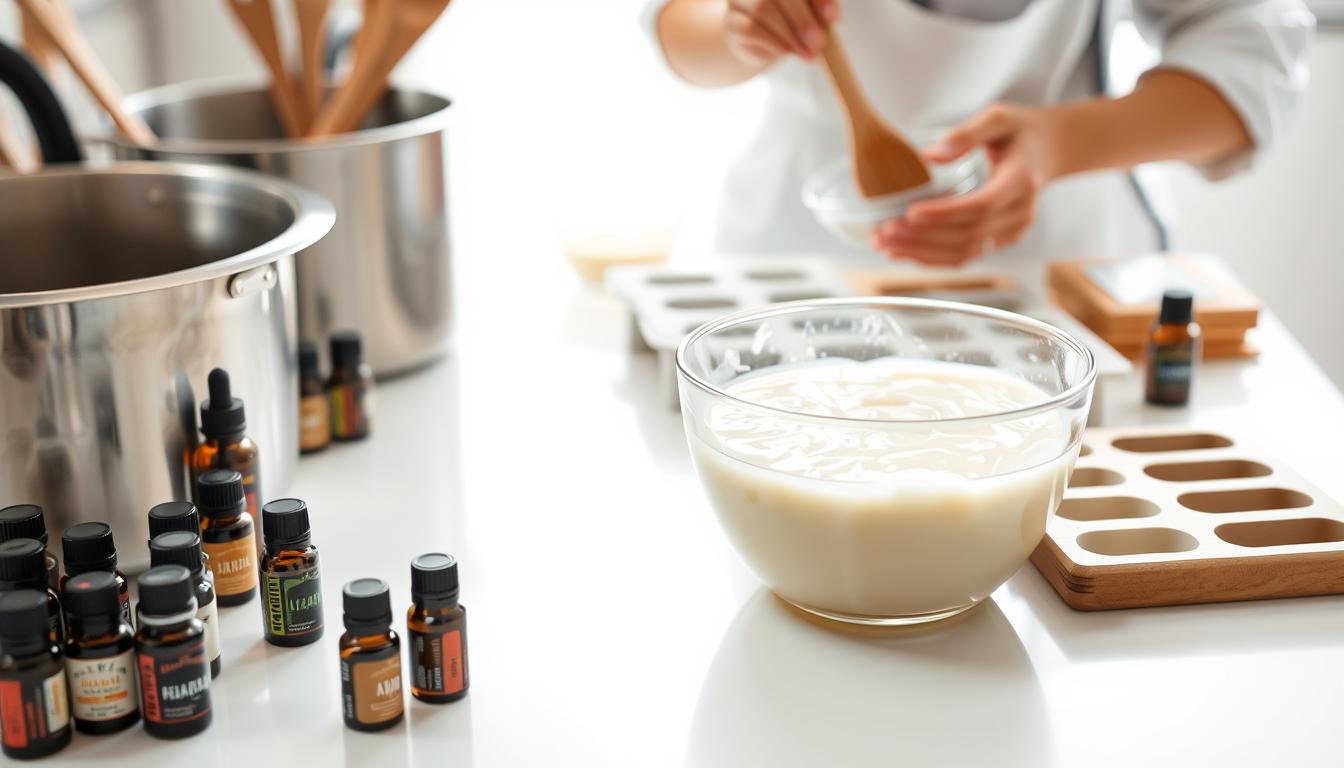
Step-by-Step Cold Process Soap Making
Precision and patience are your allies in crafting exceptional handmade soap. This phase transforms measured ingredients into a stable mixture ready for moulding. Follow these stages closely to avoid common pitfalls like false trace or overheating.
Measuring and Mixing Your Ingredients
Begin by preparing your oils lye solution and base oils separately. The ideal temperature for combining them is 100°F, with a 10°F variance acceptable either way. Use an ice bath to cool lye water or a double boiler for solid oils.

- Pulse your stick blender in 10-second bursts
- Hand-stir between bursts to check consistency
- Stop when the mixture resembles thin custard
Achieving Trace and Pouring the Soap
Trace indicates saponification has begun. Test by drizzling batter across the surface—if the line holds for 3 seconds, it’s ready. Thick trace forms peaks like cake frosting.
| Trace Stage | Consistency | Best For |
|---|---|---|
| Thin | Pourable custard | Swirl designs |
| Medium | Pudding-like | Layered soaps |
| Thick | Stiff peaks | Embedded items |
When pouring, tap moulds gently to release air bubbles. Insulate with towels for 24 hours to complete the process. Cardboard boxes work well for retaining heat without overheating.
Remember: using a stick blender too aggressively can cause rapid thickening. If the batter seizes, quickly pour it into moulds—it may still cure properly.
Troubleshooting Common Soap Making Issues
Mistakes happen, but most soap-making issues have straightforward fixes. Whether your batter seizes or develops a chalky film, quick adjustments save the batch. Below, we tackle frequent frustrations and their remedies.
Fixing Seized or Overheating Soap
A seized batch thickens too fast, often due to fragrance oils or high-stearic ingredients. Rebatching salvages it:
- Grate the soap, steam gently, and remould.
- Cool the lye solution to 38°C before mixing to avoid rapid trace.
- For overheating, skip insulation—place moulds in a fridge for 12 hours.
| Issue | Cause | Fix |
|---|---|---|
| Seized batter | Accelerating fragrance oils | Rebatch or pour immediately |
| Glycerin rivers | Excessive heat | Reduce water discount, lower temps |
Dealing with Soda Ash or Soft Bars
Soda ash (white powder) forms when lye reacts with air. Spritz with 91% isopropyl alcohol post-pour to prevent it. For soft soap, try these fixes:
- Increase lye concentration by 5% in your soap recipe.
- Add 1 tsp sodium lactate per pound of oils for harder bars.
- Extend curing time by 1–2 weeks.
Pro tip: A “zap test” (tongue tingling) indicates excess lye. If present, rebatch or cure longer.
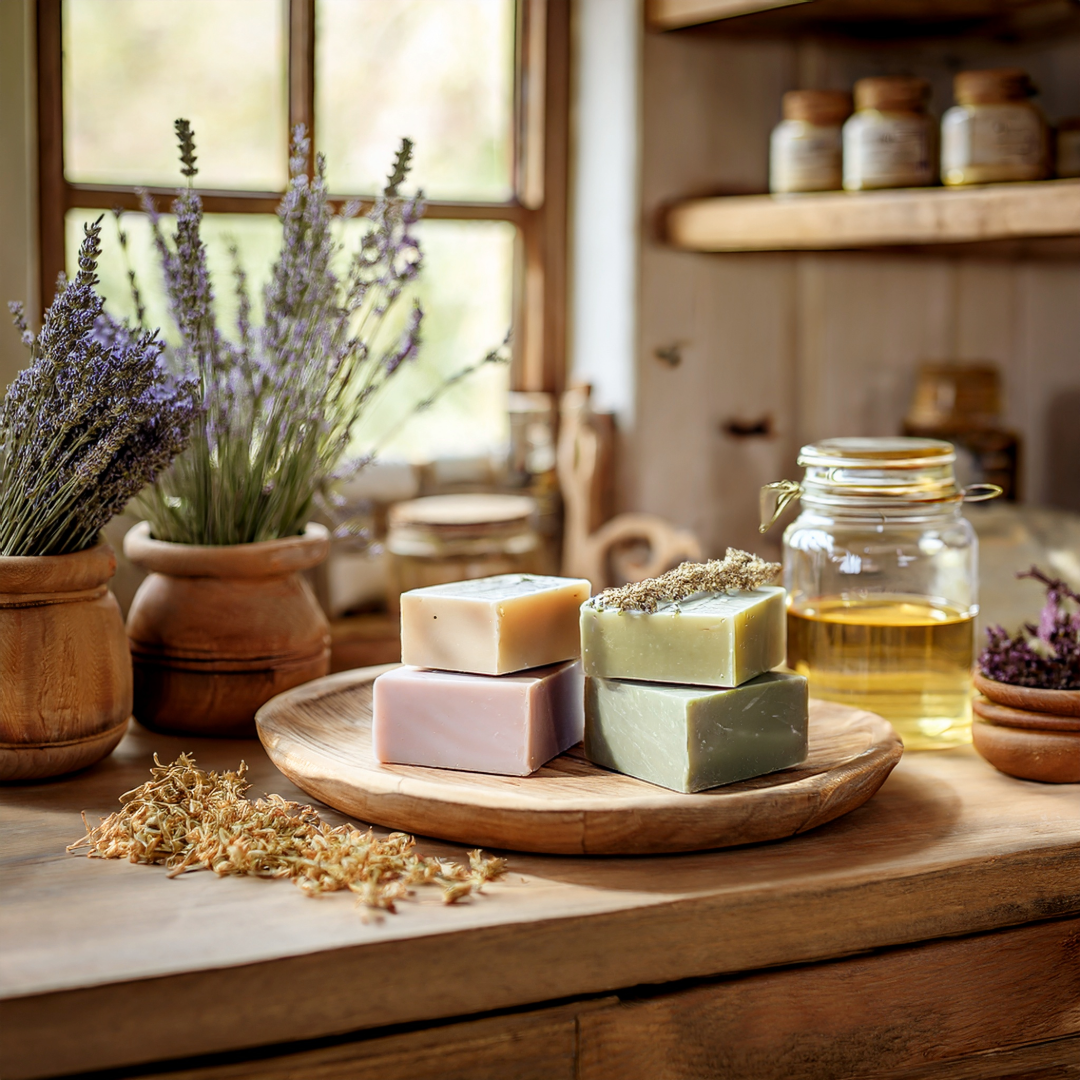
Curing and Storing Your Handmade Soap
Patience rewards crafters with luxurious bars that improve over time. The curing phase ensures safety, hardness, and a richer lather. Unlike commercial options, this process lets natural ingredients shine.

How Long to Cure Your Soap
A 4–6 week cure allows pH stabilisation and water evaporation. Turn bars weekly to prevent warping and ensure even drying. Test readiness with these checks:
- Hardness: Should feel firm, not sticky.
- Lather: Rich bubbles indicate full saponification.
- pH strips: Aim for 8–10 for skin safety.
Best Practices for Storage and Gifting
Preserve quality with breathable storage. Cedar boxes or silica gel packets absorb excess moisture. For gifting:
- Muslin wraps: Allow airflow while looking rustic.
- Shrink bands: Ideal for humid climates.
Pro tip: Refrigerate milk-based soaps to extend shelf life. Add rosemary extract (ROE) to prevent oil rancidity.
Conclusion
Transforming oils into luxurious bars is both rewarding and practical. Remember the essentials: safety gear, precise measurements, and patience during curing. These foundations ensure success every time.
Once comfortable, experiment with vibrant colours or calming lavender scents. Online soap calculators and local workshops can refine your skills further.
Embrace sustainability by upcycling kitchen oils or choosing plastic-free wraps. Each bar becomes a small step toward eco-friendly living.
Above all, cherish the satisfaction of creating usable art. Whether gifted or personal, handmade bars carry the pride of craftsmanship.
 using WordPress and
Comments are closed