Crafting your own soap at home is a rewarding experience, blending creativity with practicality. One of the most traditional methods involves combining oils with lye, allowing the mixture to cure naturally over time. This technique, known as the cold process, is perfect for beginners once safety precautions are understood.
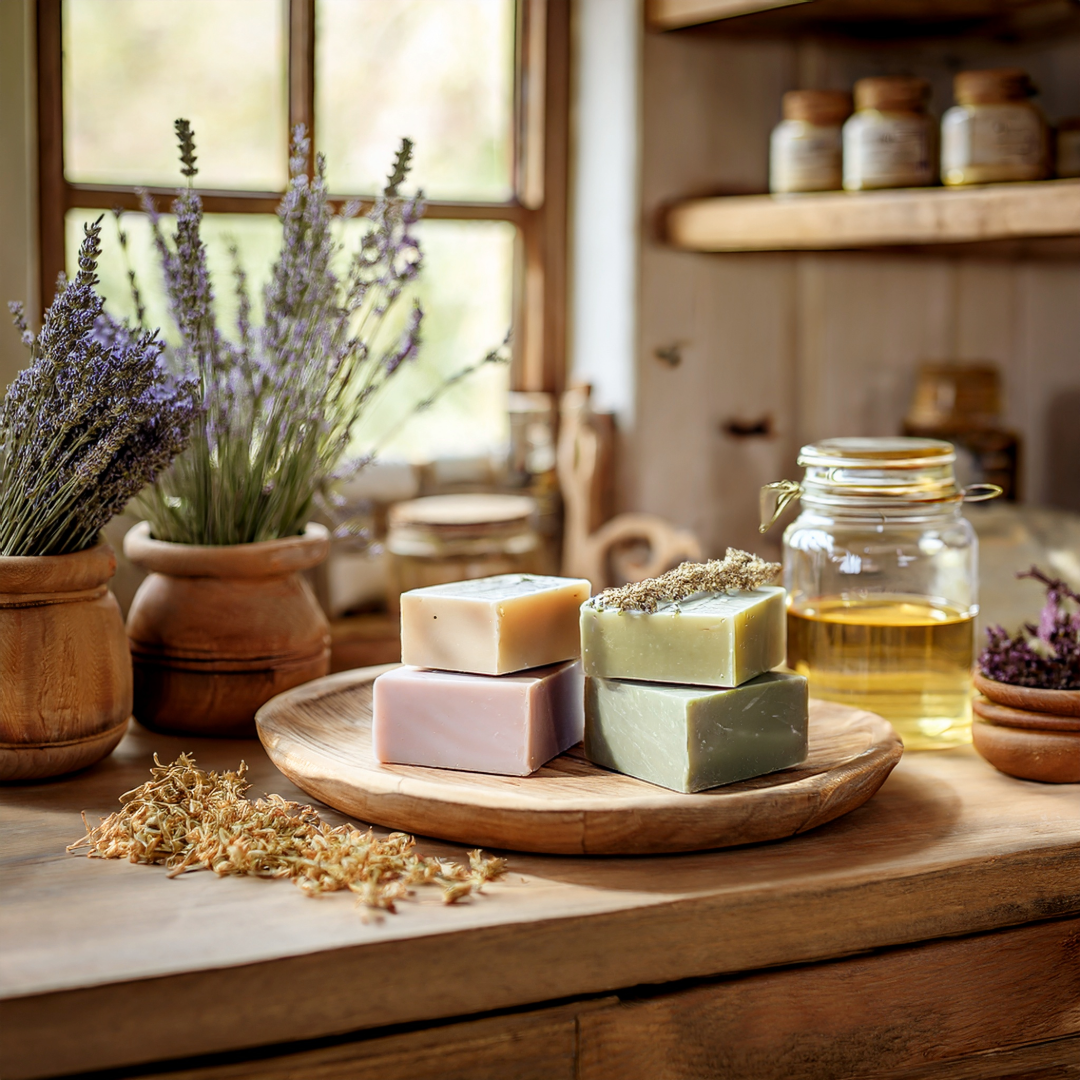
A soothing lavender and oatmeal bar makes an excellent first project. Using British measurements, a 1000g batch typically includes olive oil, coconut oil, and tallow for a balanced, skin-friendly result. The addition of ground oats provides gentle exfoliation, while lavender essential oil offers a calming fragrance.
Though the process requires patience, with a four to six-week curing period, the final product is worth the wait. You’ll be left with luxurious bars that nourish the skin without harsh chemicals. It’s a fantastic way to personalise your self-care routine.
Key Takeaways
- The cold process method uses lye and oils without additional heat
- Basic safety measures make this approach suitable for newcomers
- Standard batches begin with 1000g of oils for manageable quantities
- Lavender and oatmeal create a soothing, skin-friendly combination
- Proper curing requires approximately four weeks for ideal results
Introduction to Cold Process Soap Making
Creating handmade bars through traditional methods offers a delightful blend of science and artistry. The cold process technique, dating back to ancient civilisations, remains a favourite among crafters for its simplicity and natural results.

What Is Cold Process Soap?
This method relies on saponification, a chemical reaction between oils and sodium hydroxide (lye). Unlike hot process techniques that use external heat, the mixture cures at room temperature, preserving delicate fragrances and nutrients.
Historical records show soap makers in 2800 BC combined animal fats with wood ash. Modern recipes often feature plant-based oils like olive or coconut for gentler bars. The cold process allows complete control over textures, colours, and skin-loving additives.
Benefits of Crafting Your Own Soap
Handmade bars provide several advantages over commercial products:
- Ingredient transparency: Avoid synthetic detergents and harsh preservatives
- Cost efficiency: Bulk oils and reusable moulds reduce long-term expenses
- Eco-conscious packaging: Minimal or biodegradable wrappers lessen environmental impact
For those seeking advanced skills, courses like Botanical Soap Making explore techniques such as swirling with natural colourants or formulating Castile soap variants.
Whether you prefer rustic hot process bars or intricately designed cold process creations, homemade soap transforms daily routines into luxurious rituals.
Essential Safety Precautions
Safety should always come first when handling sodium hydroxide in soap crafting. This powerful alkali, commonly called lye, requires meticulous care to prevent accidents. A single misstep—like adding water to lye instead of vice versa—can cause dangerous eruptions.

Handling Lye Safely
Never pour water into lye. The mixture heats rapidly and can erupt, releasing caustic fumes. Always add lye to cool water in a sturdy, heatproof container. Work in a ventilated area, ideally outdoors or near an open window.
Keep vinegar nearby to neutralise spills. For skin contact, rinse immediately under cold water for 15 minutes. UK first aid guidelines recommend seeking medical help if irritation persists.
Protective Gear and Workspace Setup
Wear nitrile gloves, goggles, and long sleeves to shield against splashes. Avoid distractions—ensure children and pets are away during the process.
- PPE essentials: Chemical-resistant gloves, splash-proof goggles, apron
- Workspace: Stable surface, no food/drinks nearby
- Storage: Label lye containers clearly and store out of reach
With these measures, you’ll minimise risks while enjoying the creative process.
Gathering Your Soap-Making Equipment
Before diving into crafting your first batch, it’s essential to assemble the right tools. Quality equipment ensures safety and precision, making the process smoother for beginners. While specialised gear is ideal, many everyday kitchen items can serve as clever alternatives.
Must-Have Tools for Beginners
A well-prepared workspace starts with these core items:
- Digital scales: Accurate measurements are crucial for safe saponification.
- Stick blender: Speeds up emulsification, reducing stirring time.
- Stainless steel pans: Resist lye reactions (avoid aluminium at all costs).
- Heatproof jugs: Pyrex or similar borosilicate glass handles lye safely.
- Silicone moulds: Flexible and reusable for perfect bar shapes.
For UK crafters, suppliers like Nisbets offer commercial-grade equipment. Soap maker Kat Goldin recommends starting with a basic setup: “A sturdy stick blender and reliable scales make all the difference in consistent batches.”
Alternative Household Items You Can Use
Budget-conscious makers can repurpose these common items:
| Purpose | Specialised Tool | Household Alternative |
|---|---|---|
| Moulds | Silicone loaf mould | Cardboard box lined with parchment |
| Mixing bowls | Stainless steel pot | Large glass mixing bowl |
| Cutting | Soap cutter | Sharp kitchen knife |
Gartur Stitch Farm demonstrates how milk cartons make excellent single-use moulds. Just ensure all repurposed containers are thoroughly cleaned before use.
Understanding Soap-Making Ingredients
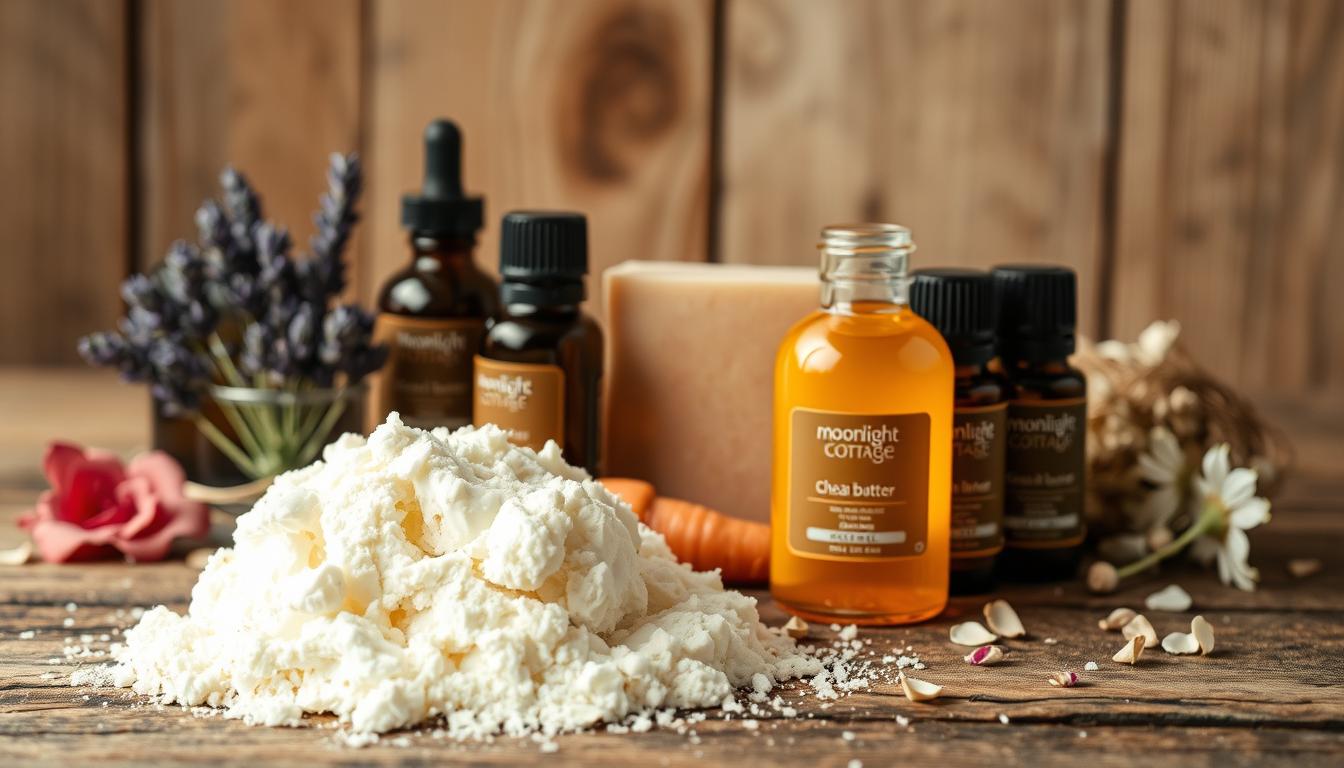
Selecting quality ingredients is the foundation of exceptional handmade soap. Each component contributes to the bar’s texture, lather, and skin benefits. From nourishing oils to fragrant additives, every choice shapes your final creation.
Oils and Butters: Their Roles in Soap
A balanced oil blend ensures a gentle yet effective bar. For a 1000g batch, consider this ratio:
- Tallow (300g): Adds hardness and creamy lather
- Olive oil (400g): Renowned for its moisturising properties
- Coconut oil (200g): Boosts cleansing and bubbly foam
- Castor oil (50g): Enhances lather stability
- Shea butter (50g): Provides extra skin nourishment
As Lovely Greens notes, coconut oil cleanses, while olive oil locks in moisture. Superfatting—adding extra oils (5–7%)—ensures leftover fats for hydration.
Lye Solution Basics
Sodium hydroxide (lye) triggers saponification. UK crafters can source it from suppliers like Duda Energy. Always calculate precise amounts using SAP values—each oil requires specific lye quantities to fully saponify.
Additives for Scent and Texture
Personalise bars with natural enhancements:
- Essential oils: Lavender offers a calming fragrance
- Colloidal oatmeal: Gently exfoliates sensitive skin
- Clays: Add colour and absorb excess oil
Measure additives in grams for accuracy. A 2–3% fragrance load (20–30g per 1000g oils) ensures a lasting scent without irritation.
Creating Your Lye Solution
Preparing the lye solution marks a critical step in crafting quality bars. This mixture triggers saponification, transforming oils into soap. Precision here ensures safety and ideal texture.
Measuring and Mixing Safely
Use digital scales to measure 135g sodium hydroxide (NaOH) and 270g distilled water. Always add lye to water—never reverse—to prevent violent reactions. The solution will heat to 93°C+ initially, turning cloudy before clearing as it cools.
- Distilled water avoids mineral interference.
- Infrared thermometers track cooling to 48°C.
- Work near an open window—UK ventilation standards advise against inhaling fumes.
Cooling and Handling Tips
Place the container in a sink filled with cold water to speed cooling. Stir occasionally for even temperature distribution. Patience is key—rushing risks uneven saponification.
| Water Type | Pros | Cons |
|---|---|---|
| Distilled | Pure, no mineral reactions | Must be purchased |
| Tap | Convenient | May cause soda ash |
Once cooled, the lye solution is ready to blend with oils. Store unused NaOH in airtight containers, labelled clearly.
Preparing Your Oils and Butters
The foundation of luxurious handmade bars lies in properly prepared oils and butters. Gentle melting techniques preserve their beneficial properties while creating the perfect base for your creation. This stage determines the final bar’s texture and skin-loving qualities.
Melting Solid Oils Properly
Coconut oil and tallow require careful melting to avoid damaging their structure. Use a double-boiler method for even heat distribution, keeping temperatures below their smoke points. Shea butter benefits from this approach too, maintaining its colour stabilisation properties.
Ideal temperatures for most oils range between 43-48°C before emulsification. As soap maker Rebecca Desnos advises: “Low and slow melting preserves the delicate fatty acids that nourish skin.”
Combining Oils for Optimal Quality
Balancing different oils creates bars that cleanse without stripping natural moisture. Consider these synergies:
| Oil Type | Benefit | Recommended % |
|---|---|---|
| Olive oil | Moisturising | 40-60% |
| Coconut oil | Cleansing | 20-30% |
| Shea butter | Conditioning | 5-10% |
For UK crafters, olive pomace oil offers faster trace than virgin varieties. Always measure by weight for precision—volume measurements vary too much between oils.
How to Make Cold Process Soap: Step-by-Step Method
The magic of saponification unfolds when oils and lye unite under precise conditions. This stage transforms separate ingredients into a unified soap batter, ready for moulding. Proper technique ensures smooth emulsification and ideal texture.
Blending Lye and Oils Safely
Pour your cooled oils and lye solution into the oil blend in a steady stream. Use an immersion blender at low speed to prevent splashing. Gartur Stitch Farm’s tutorial demonstrates the circular stirring motion that promotes even mixing.
Watch for these signs of proper emulsification:
- No visible oil separation after 30 seconds of blending
- A slight change to an opaque, pudding-like consistency
- Even temperature distribution throughout the mixture
Mastering the Stick Blender Technique
Pulse your immersion blender in 10-second bursts, stirring manually between sessions. This prevents overheating and gives you better control. “Over-blending causes accelerated trace, leaving little time for designs,” cautions Lovely Greens.
Troubleshooting tips:
- False trace: Warm the batter slightly if cool temperatures cause premature thickening
- Separation: Blend an extra 15 seconds if oils pool on the surface
- Air bubbles: Tap the container gently after blending
Identifying Trace Stages
Trace indicates saponification has begun. Test by lifting the blender – batter should leave a momentary “ribbon” on the surface. Different projects require specific consistencies:
| Trace Stage | Appearance | Best For |
|---|---|---|
| Light | Drizzles disappear in 3 seconds | Swirl designs |
| Medium | Holds shape briefly | Layered soaps |
| Full | Pudding-like, holds peaks | Embedded items |
When your soap batter reaches the desired trace, immediately proceed to adding fragrances. Delaying can make the mixture too thick for pouring.
Adding Fragrances and Additives
Personalising your handmade bars with carefully chosen fragrances and textures elevates them from basic cleansers to luxurious treats. This stage allows creativity to shine while enhancing the soap’s therapeutic properties. Timing is crucial—add components when the batter reaches light trace for even distribution.
Incorporating Essential Oils Safely
Lavender essential oil offers calming aromatherapy benefits but accelerates trace. Add it at precisely 2-3% of your oil weight—30g maximum per 1000g batch. UK supplier Gracefruit recommends pre-diluting potent oils in a tablespoon of carrier oil to prevent “ricing” (grainy texture).
Follow these guidelines for flawless scenting:
- Use an infrared thermometer to confirm the batter is below 48°C
- Stir gently with a silicone spatula rather than blending
- Work quickly if using accelerating fragrances like lavender
Enhancing with Clays and Exfoliants
Purple Brazilian clay adds vibrant colour and mineral benefits. Disperse 1 teaspoon in 2 tablespoons of oil before incorporating to prevent clumping. For colloidal oatmeal, grind rolled oats into a fine powder using a coffee grinder—this ensures gentle exfoliation without scratchiness.
Consider these popular additive combinations:
| Additive | Benefit | Usage Rate |
|---|---|---|
| Brazilian clay | Colour + detox | 1 tsp per 500g oils |
| Colloidal oatmeal | Soothing | 15g per 1000g batch |
Allow the batter to thicken slightly after adding textures—this prevents settling during curing. As Craftovator advises: “Test new additives in small batches before committing to large quantities.”
Pouring and Moulding Your Soap
Transforming soap batter into beautifully shaped bars requires careful mould selection and pouring techniques. This stage turns liquid mixtures into solid forms, where creativity meets precision. Proper handling ensures professional results, whether crafting simple bars or intricate designs.
Selecting the Ideal Mould
Mould material affects both aesthetics and practicality. Silicone offers flexibility for easy removal, while wooden options provide sturdy support. Line wooden moulds with freezer paper for clean edges—Craftovator recommends this for crisp corners.
Consider these factors when choosing:
- Silicone moulds: Non-stick surface needs no lining, perfect for beginners
- Wooden moulds: Retain heat well but require lining with parchment
- Cardboard alternatives: Kat Goldin’s kitchen hack uses cereal boxes lined with greaseproof paper
| Mould Type | Durability | Best For |
|---|---|---|
| Silicone | 50+ uses | Detailed shapes |
| Wooden | Years | Traditional bars |
| Cardboard | Single use | Budget batches |
Professional Pouring Methods
How you pour soap determines its final appearance. “Plopping” the batter from height eliminates air bubbles, while gentle tilting creates smooth layers. For textured tops, use the back of a spoon to create peaks before curing.
Try these decorative techniques:
- Swirls: Use a skewer to marble contrasting colours
- Embeds: Press small soap pieces into fresh batter
- Layering: Pour thin sections, allowing slight setting between
In damp UK winters, cover moulds with cling film to prevent moisture absorption. Allow 24-48 hours before unmoulding—cold temperatures may extend this timeframe slightly.
The Curing Process
Patience becomes your greatest ally during the final phase of soap crafting. While unmoulding feels like a milestone, the true magic unfolds over weeks as bars cure. This process isn’t mere drying—it’s where saponification completes and textures refine.
Why Curing Matters
Evaporation reduces water content, creating harder, longer-lasting bars. Simultaneously, crystalline structures develop, enhancing lather and mildness. Gartur Stitch Farm advises:
“Test for lye zap by lightly touching your tongue to the soap—if it stings, cure longer.”
Four weeks is the UK minimum, though olive-oil-heavy recipes may need eight. Humidity slows curing; in damp regions, consider dehumidifiers near storage areas.
Storing Soap for Optimal Curing
Breathable storage prevents mould and sweating. Linen cupboards work well, allowing air circulation. Avoid plastic wraps—they trap moisture and promote spoilage.
| Storage Method | Pros | Cons |
|---|---|---|
| Wooden racks | Maximises airflow | Requires space |
| Parchment-lined boxes | Compact | Needs turning |
| Mesh baskets | Ideal for small batches | Limited bar support |
Rotate soap every few days for even curing. In heated homes, keep bars away from radiators—sudden time temperature changes cause cracking.
Troubleshooting Common Soap Making Issues
Even experienced soap makers occasionally face challenges during the saponification process. Recognising these issues early ensures your bars remain usable and beautiful. Most problems stem from imbalances in lye, oils, or heat—all fixable with simple adjustments.
Fixing Separation or Acceleration
Separation occurs when oils pool atop the batter, often due to insufficient blending. Re-mix with a stick blender until emulsified. For seized soap (overly thick batter), *rebatch* by grating and melting it with a splash of water.
Glycerin rivers—streaky translucent lines—are harmless but may indicate excess water or heat. Differentiate them from true separation:
| Issue | Appearance | Solution |
|---|---|---|
| Separation | Oily layer on surface | Re-blend immediately |
| Glycerin rivers | Wavy translucent streaks | Reduce water in recipe |
Dealing with Soda Ash
This white powder forms when lye reacts with air. Though harmless, it dulls your soap’s appearance. Lovely Greens recommends spritzing with 99% isopropyl alcohol post-pour to prevent it.
For existing ash, steam bars briefly or rinse under cold water. UK crafters should note: hard water worsens ash. Consider distilled water for future batches.
- Emergency care: For lye burns, rinse under cold water for 15 minutes and call NHS 111.
- Prevention: Always test new recipes in small batches.
Conclusion
Mastering the art of handmade bars brings both satisfaction and skin-loving benefits. With proper safety measures and patience during the four-week cure, you’ll create luxurious bars free from harsh chemicals.
Experiment with different oils and scents to find your signature blend. Join UK communities like Botanical Soap Making courses to refine techniques and share ideas.
Remember:
- Always measure lye precisely
- Allow full curing time for milder bars
- Start simple, then explore advanced designs
Download our free recipe guide to begin your next batch. Happy crafting!
 using WordPress and
Comments are closed